

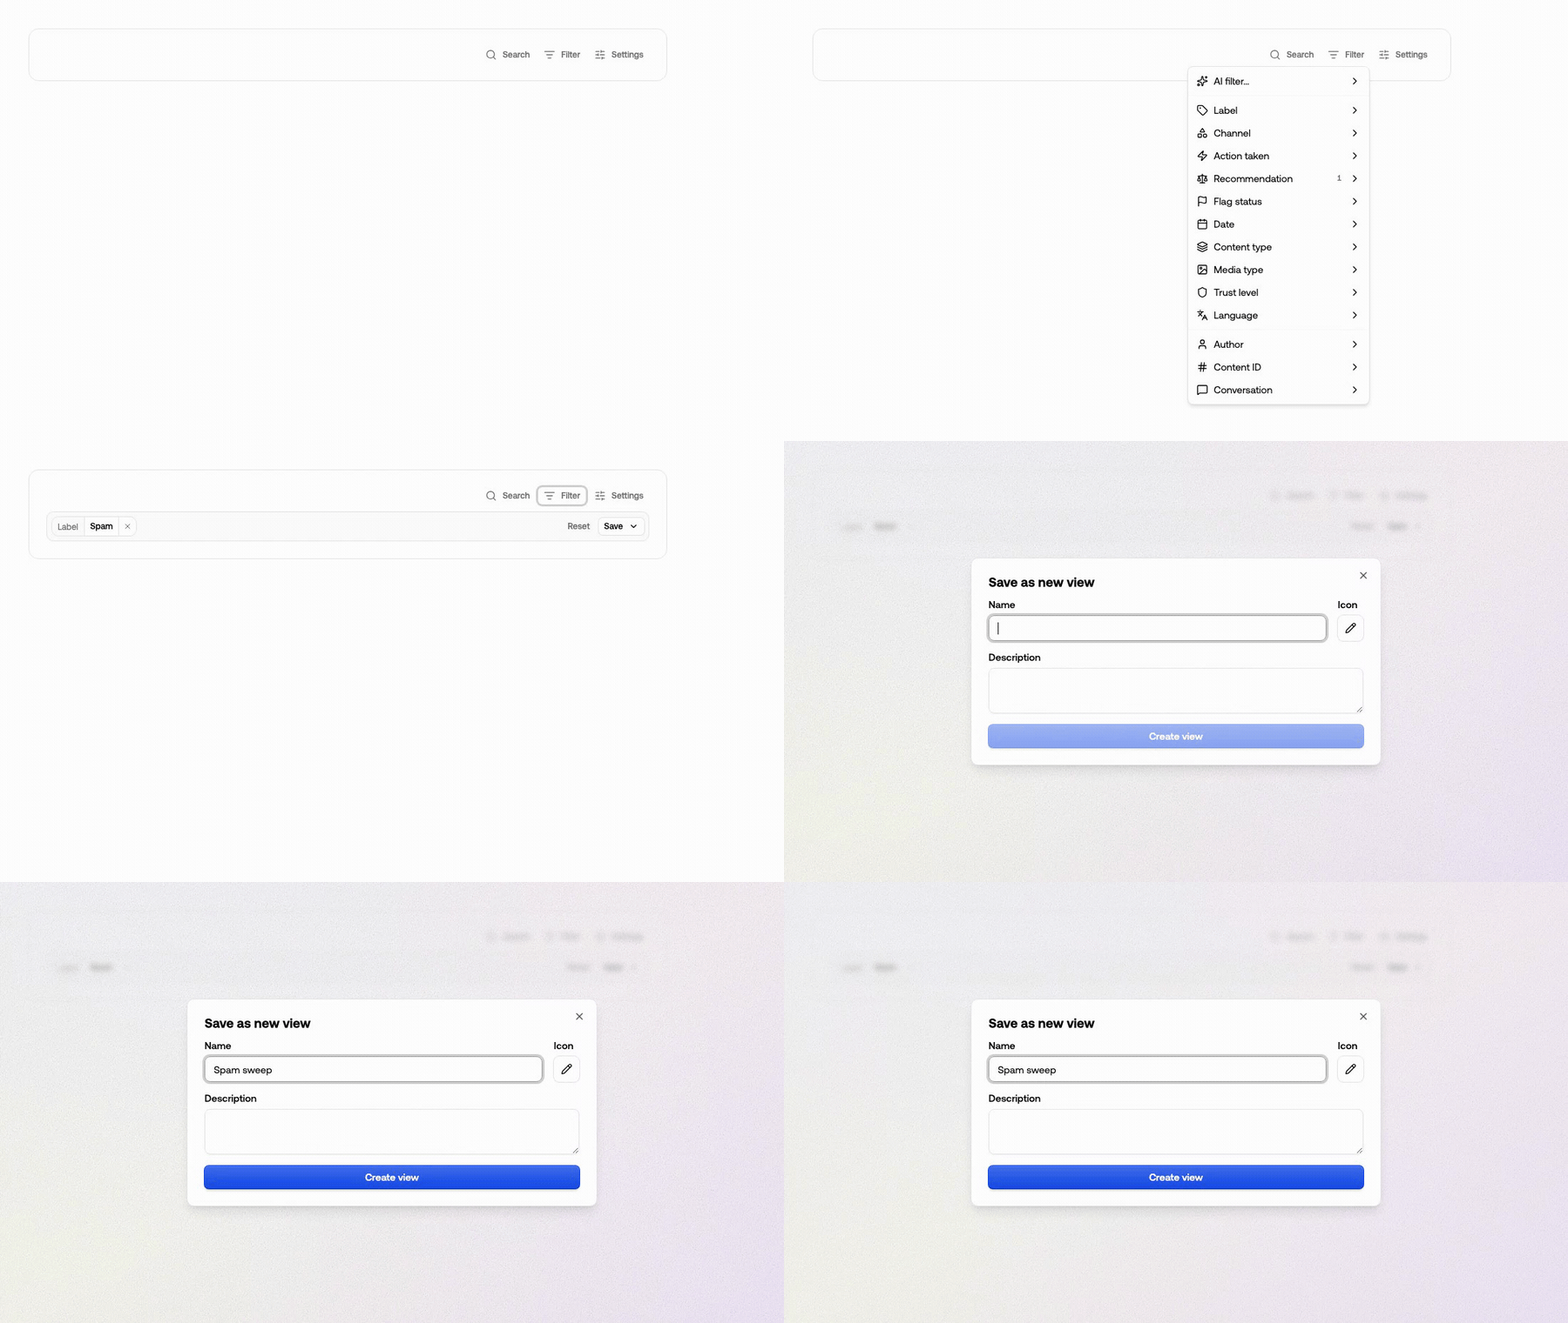
Filtering a list, then saving it as a view
Create a view
There are two ways in. Start from the sidebar when you know what the view is for; start from the filter bar when you’ve been exploring and want to keep what you found — see saving what you filtered.1
Add the view
Press + next to Content views in the review sidebar. Give it a name, an
icon and an optional description.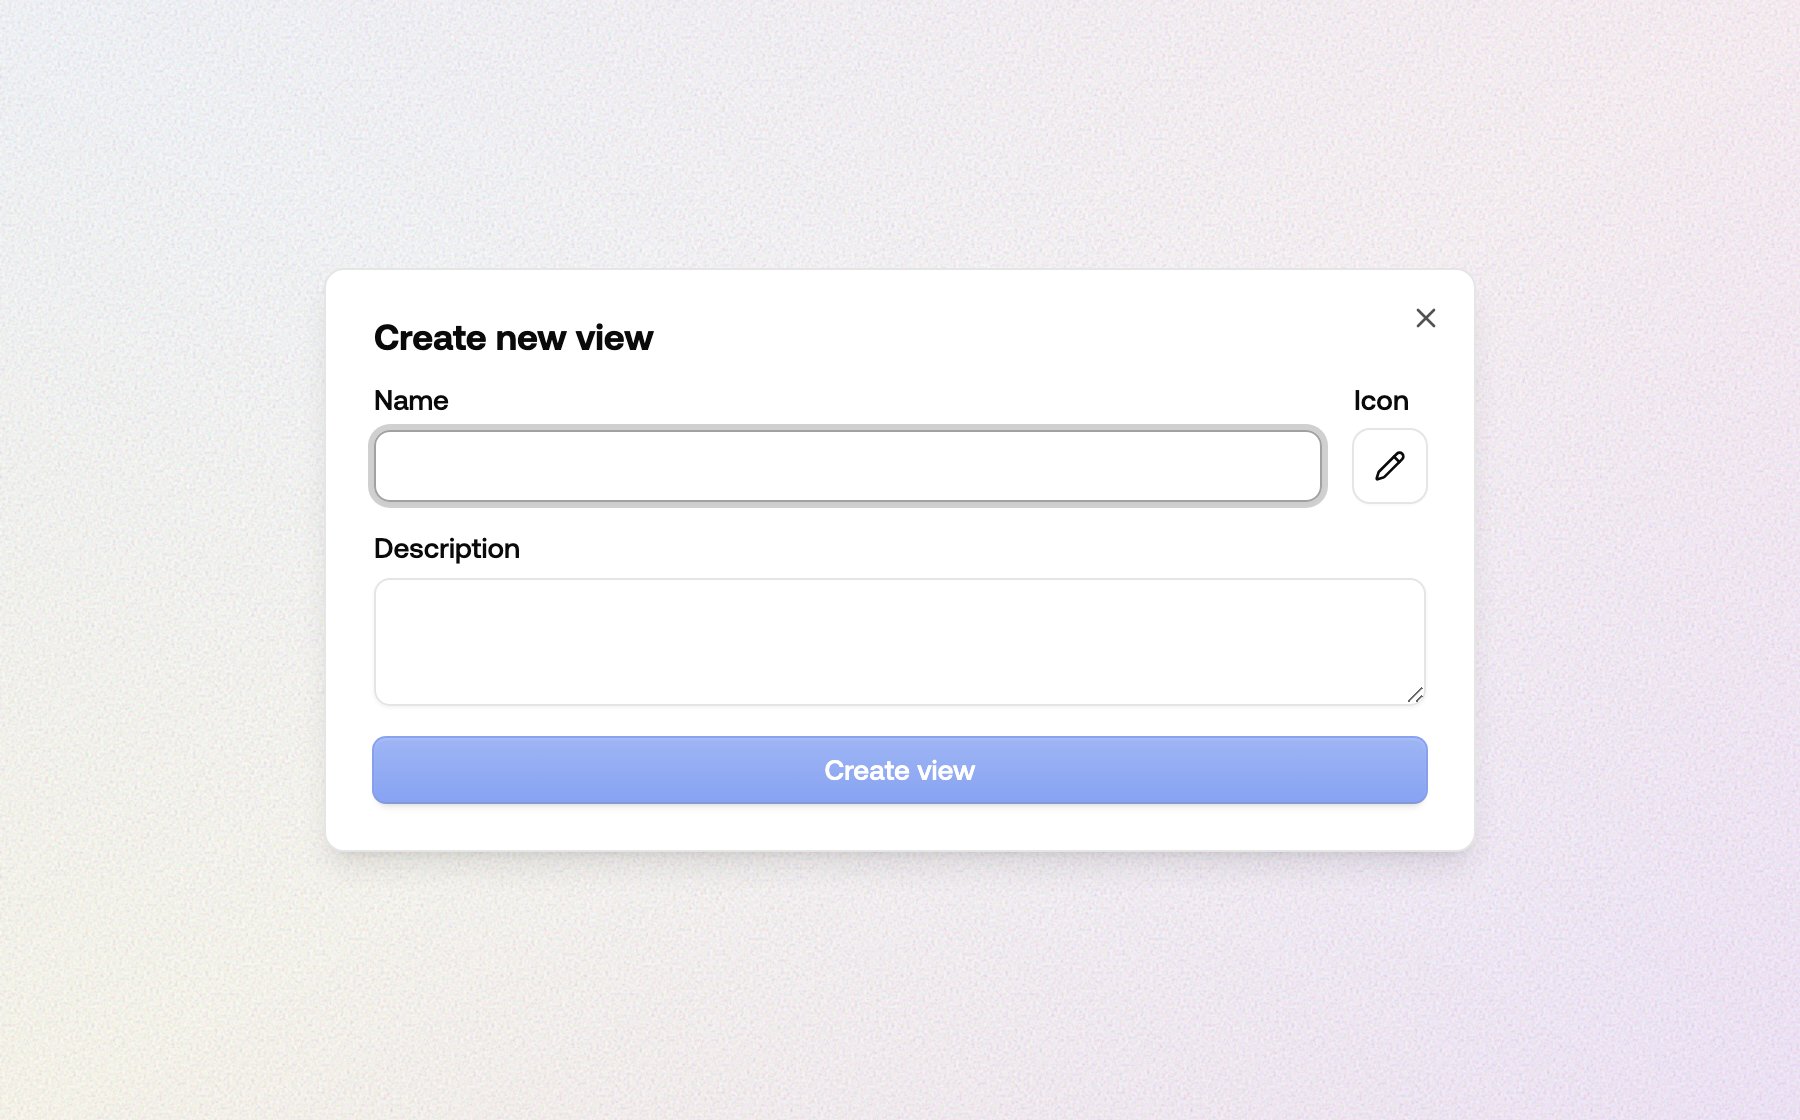
2
Filter it
A new view starts with no filters at all, so it shows everything you’ve submitted
— including the content that was handled automatically, which the inbox leaves out.
Narrow it with Filter.
3
Save
Filters you set are yours alone until you press Save. Choose Save to this
view to make them the view’s definition for everyone.
Filter properties
Open Filter and pick a property. Values inside one property are OR’d together (“German or French”); separate properties are AND’d (“German and flagged for spam”).Author, Content ID, Conversation and the search box are for looking
something up right now. They’re never saved into a view.
Label rules
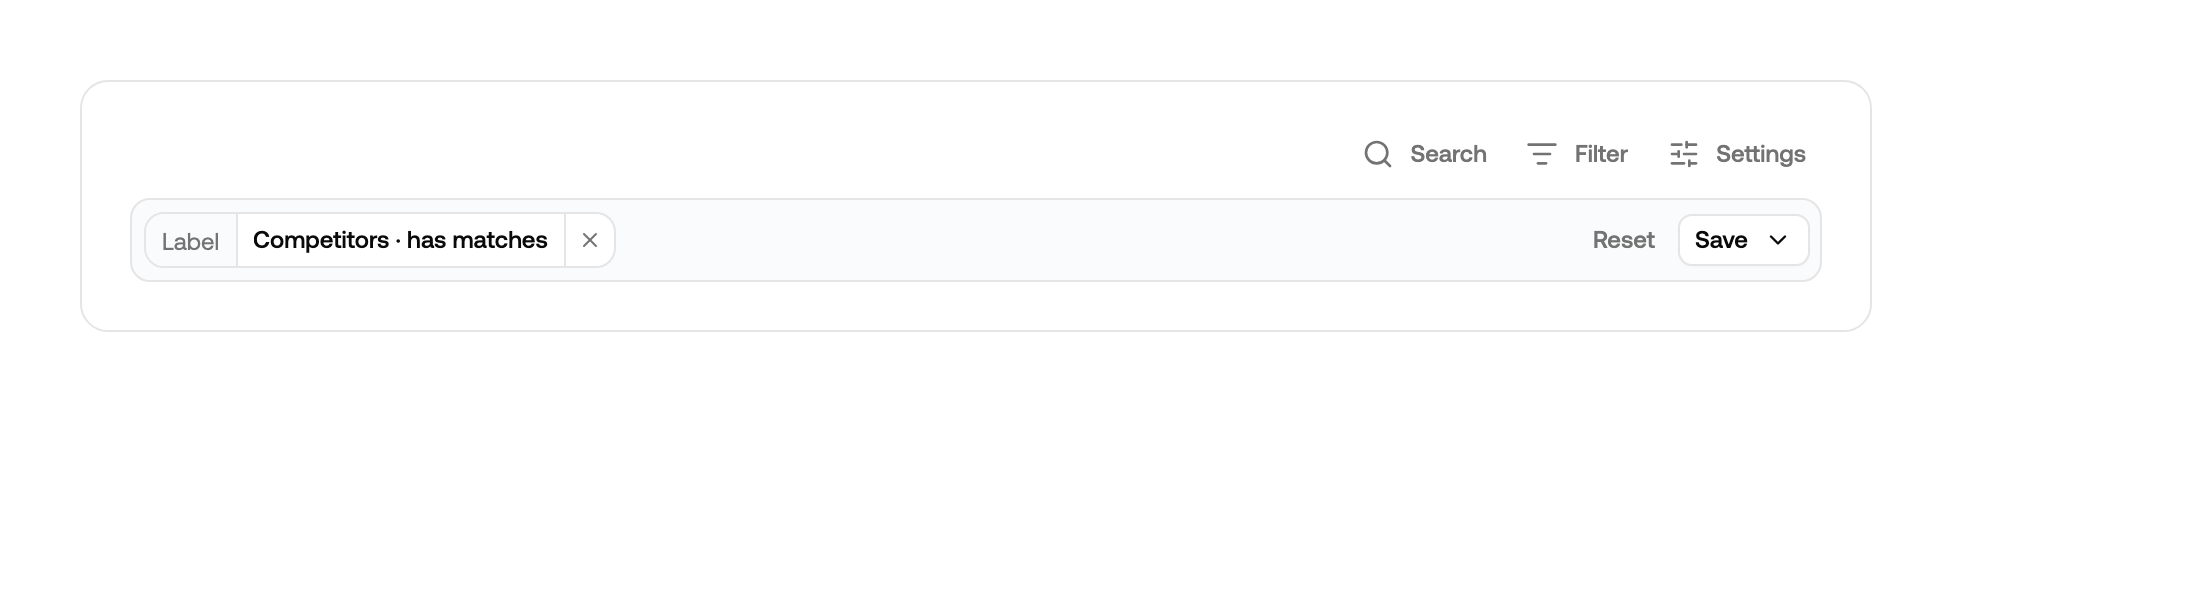
A label can be filtered four ways. Pick the rule when you add the label, or click its pill to change it later.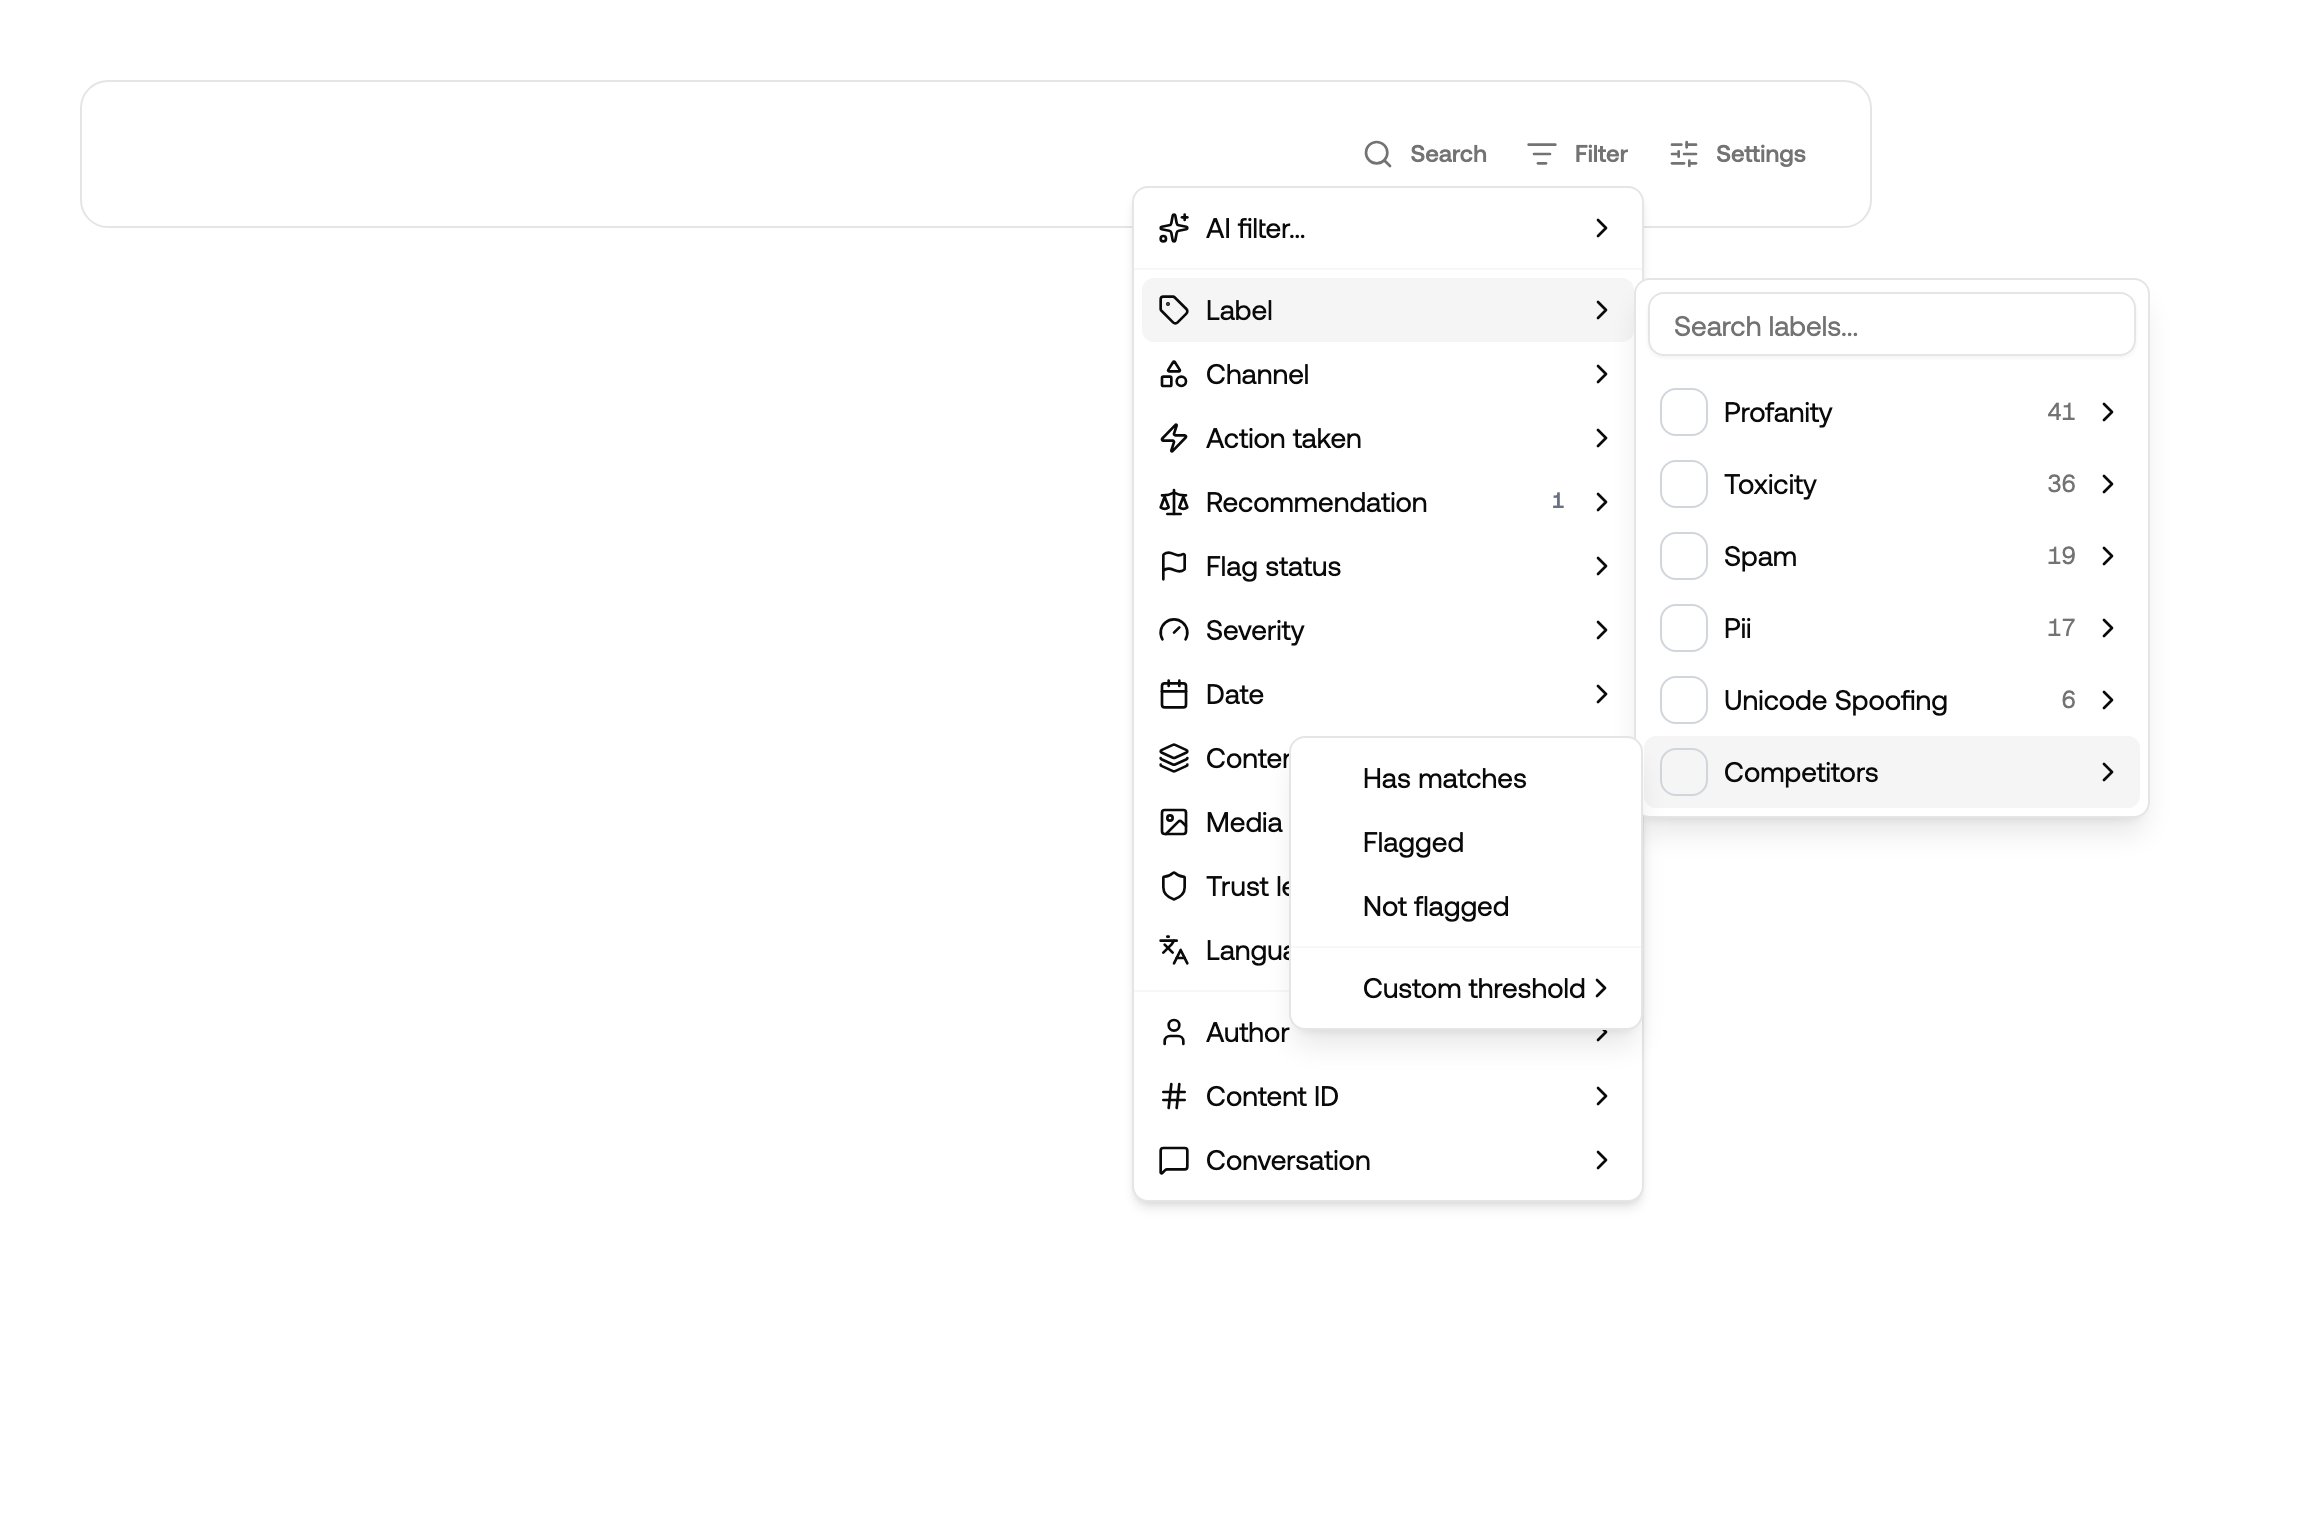
Detected is the one worth remembering: it finds content a policy noticed but
deliberately let through — see wordlist monitoring.
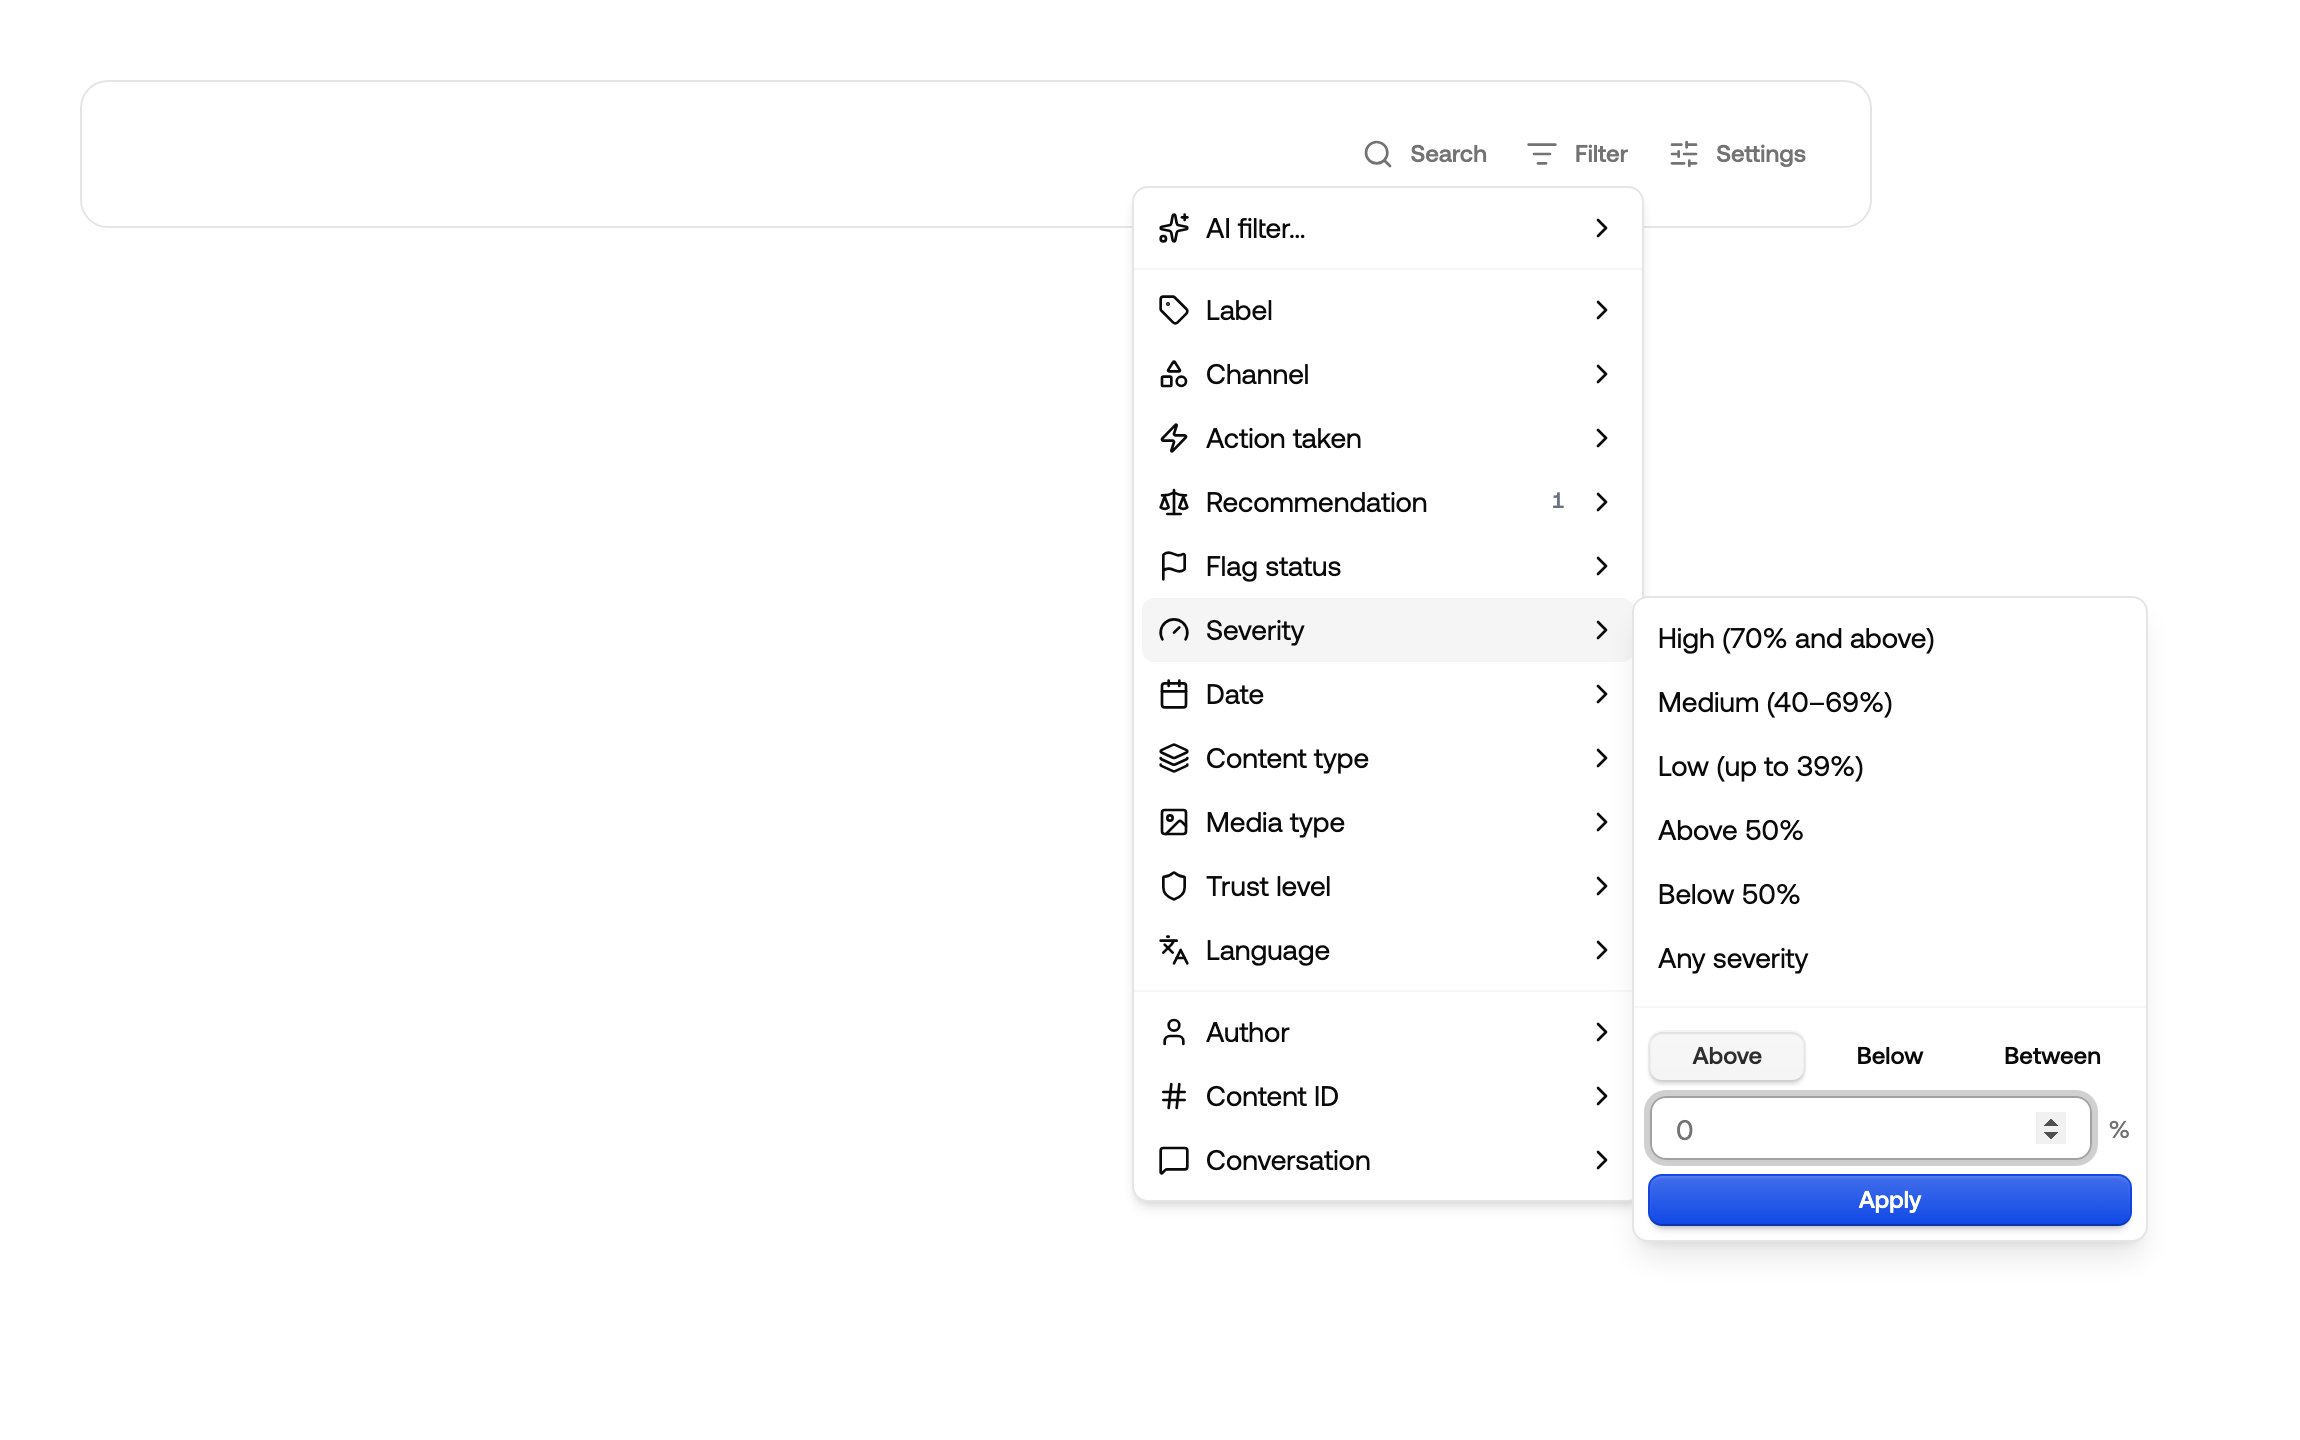
Severity
Severity is one number for how bad an item is, from 0 to 100%. It’s the same figure the Severity column shows, so a view and a badge never disagree.
Pick a band, one of the Above / Below 50% shortcuts, or type your own bounds. Leaving
a bound empty means no limit on that side, so a chip can read 70% and above rather
than pretending to be a range.
Describe a view instead of building it
Filter → AI filter turns a sentence into filters. Describe the slice you want — “German listings flagged for spam in the last 7 days” — and the properties are filled in for you.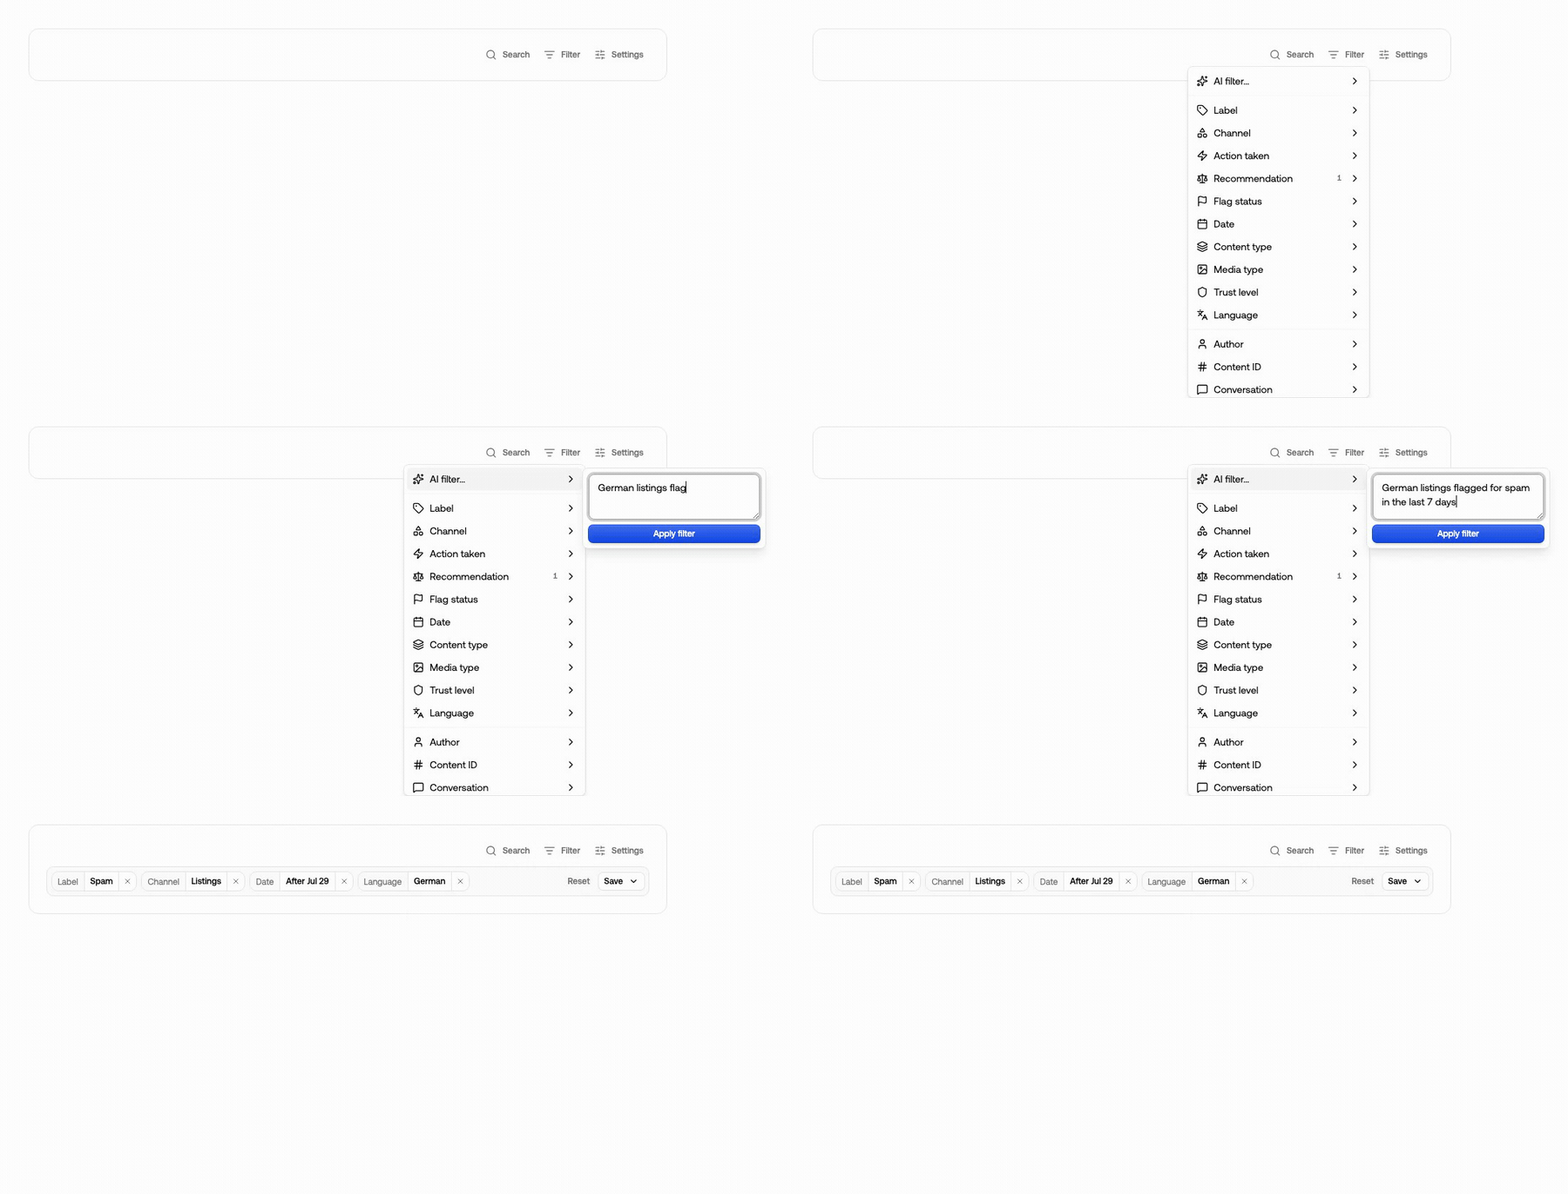
A sentence becomes filter pills you can adjust
Filters you set vs. the view’s own
The pills under the filter bar show only where you’ve diverged from the saved view. The view’s own filters stay invisible: they’re the baseline, not a change you made. A pill reading Any means you cleared something the view restricts.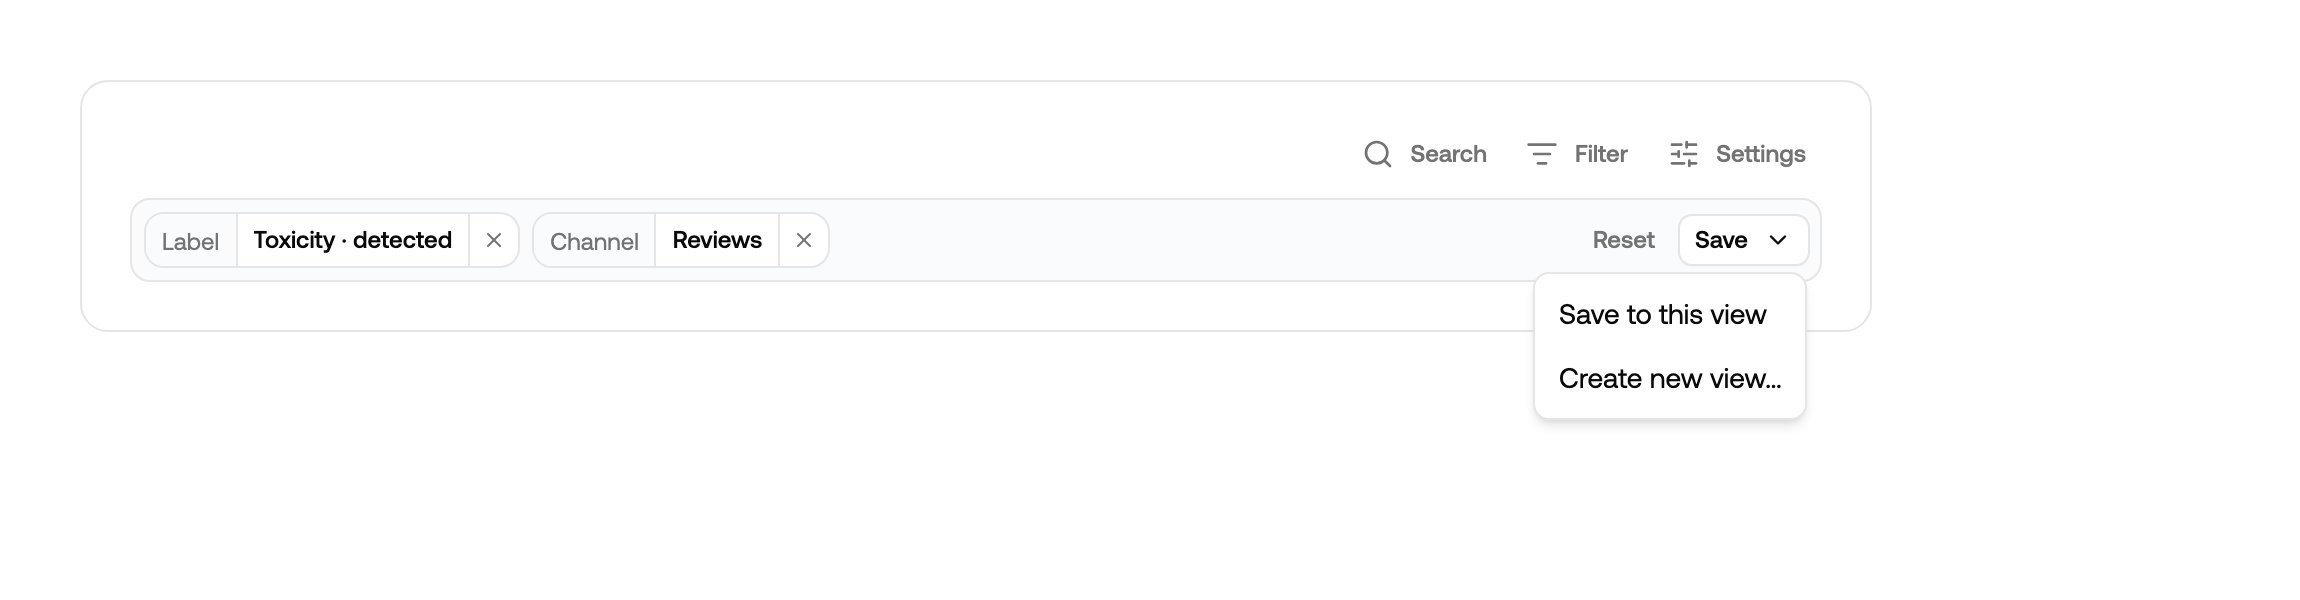
Changed filters, and the two ways to keep them
- Reset puts the view back the way it’s saved.
- Save → Save to this view rewrites the view’s definition. It’s shared, so everyone gets it.
- Save → Create new view… keeps the current view untouched and splits your filters off into a new one.
Changing a view’s filters is safe. Nothing is deleted, the list is simply
recalculated, and anything already resolved stays resolved if it comes back.